
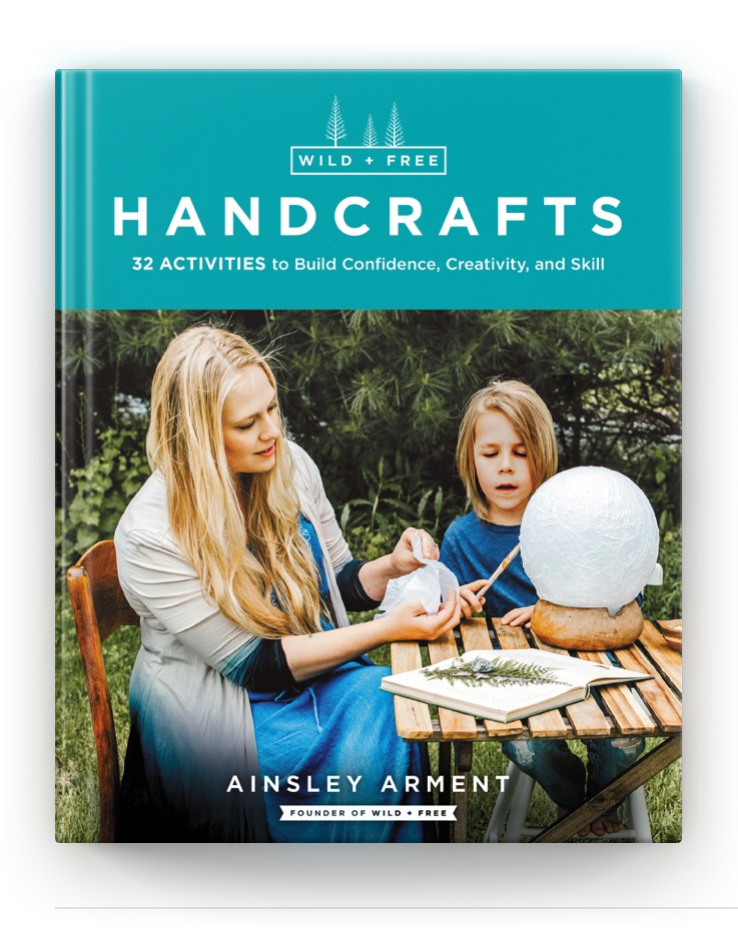
A New Print Collection From Wild + Free
HANDCRAFTS is a beautiful, four-color book for parents, educators, and caregivers to enjoy doing hands-on activities with their kids. A handcraft engages one’s hands, requires a learned skill, encourages children to do their best work, and produces an end-product that is useful.
Handcrafts have been used in homeschool settings for decades as a way to encourage children to work with their hands and practice a skillful craft. But it is also a great way for traditionally educated kids, those in after-school programs, or those with their families on the weekends to do fun activities that will stimulate their imaginations and creativity.
Filled with the same lush photography as The Call of the Wild + Free, this book includes instructions that show parents how to do each craft, step-by-step photos, and essays on the usefulness and purpose of handcrafts as a tool to spark children’s curiosity and wonder.


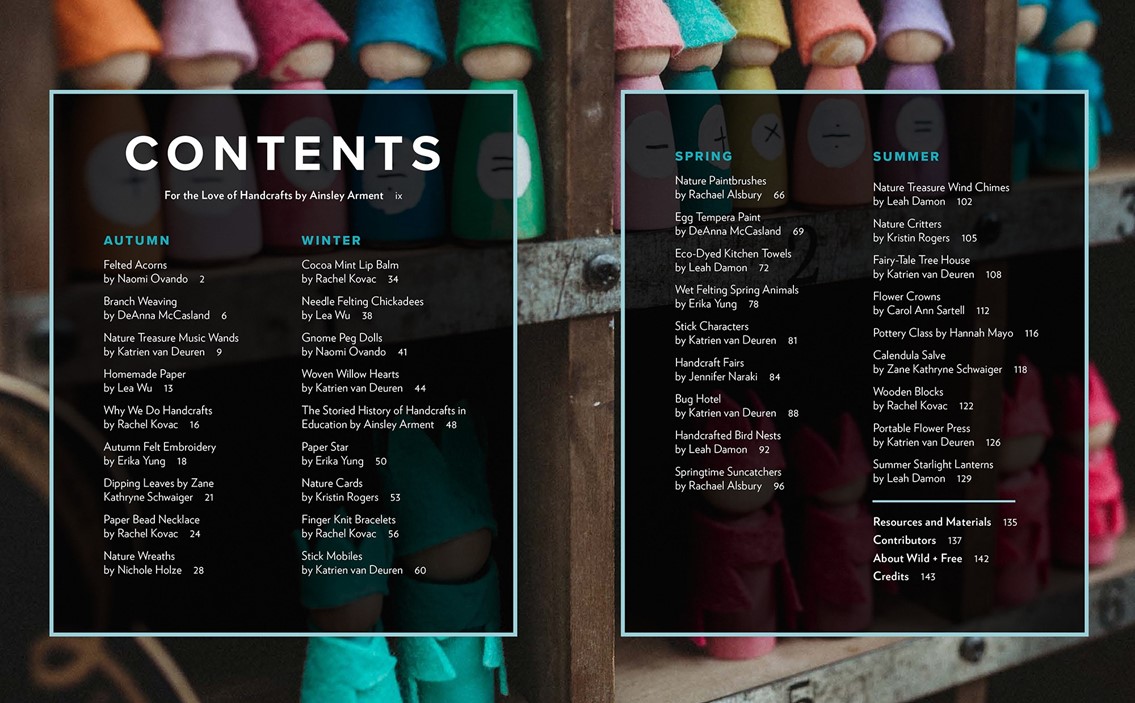
Contents
This book is a collection of handcraft tutorials from Wild + Free, a community of mothers and parents who are reclaiming wonder in their children’s education. Each tutorial has been created by and tested by families with kids who range in ages, interests, and geographic locations. Structured seasonally, these crafts are designed to be undertaken throughout the year.
You will find an icon next to each craft that indicates whether the project is suited for beginners (easy enough for young children to do with minimal help), intermediate (some adult participation and supervision needed), or advanced (need adult participation and supervision).
AUTUMN
- Felted Acorns by Naomi Ovando
- Branch Weaving by DeAnna McCasland
- Nature Treasure Music Wands by Katrien Van Deuren
- Homemade Paper by Lea Wu & Abby Medawar
- Why We Do Handcrafts by Rachel Kovac
- Felt Embroidery by Erika Yung
- Dipping Leaves by Zane Kathryne Schwaiger
- Paper Beads by Rachel Kovac
- Nature Wreaths by Nichole Holze & Tiffany Griffin
WINTER
- Cocoa Mint Lip Balm by Rachel Kovac
- Needle Felting Chickadee by Lea Wu & Abby Medawar
- Woven Willow Hearts by Katrien Van Deuren
- Gnome Peg Dolls by Naomi Ovando
- Handcrafts in Education by Ainsley Arment
- Paper Star by Erika Wu
- Nature Cards by Kristin Rogers
- Finger Knit Bracelets by Rachel Kovac
- Stick Mobiles by Katrien Van Deuren
SPRING
- Nature Paint Brushes by Rachael Alsbury
- Eco-Dyed Towels by Leah Damon & Cory Williams
- Egg Tempera Paint by DeAnna McCasland
- Wet Felting Spring Animals by Erika Yung
- Handcraft Fairs by Jennifer Naraki & Kristin Rogers
- Bug Hotel by Katrien Van Deuren
- Bird Nests by Leah Damon & Cory Williams
- Springtime Sun Catchers by Rachael Alsbury
- Stick Characters by Katrien Van Deuren
SUMMER
- Nature Wind Chimes by Leah Damon & Cory Williams
- Fairy Tale Treehouse by Katrien Van Deuren
- Flower Crowns by Carol Ann Sartell & Mollie Hardy
- Nature Critters by Kristin Rogers
- Pottery Class as Handcraft by Hannah Mayo
- Calendula Salve by Zane Kathryne Schwaiger
- Wooden Blocks by Rachel Kovac
- Portable Flower Press by Katrien Van Deuren
- Nature Lanterns by Leah Damon & Cory Williams
Springtime Sun Catchers
By Rachael Alsbury
Young children take their nature treasures very seriously, so I’m always on the lookout for new ways to preserve our findings.
The colors and textures in our basket presented the perfect opportunity to make springtime sun catchers.
This is a simple but stunning craft that can be done with items you probably already have around the house. Or go on a nature hunt of your own to find new treasures to incorporate into your sun catcher!
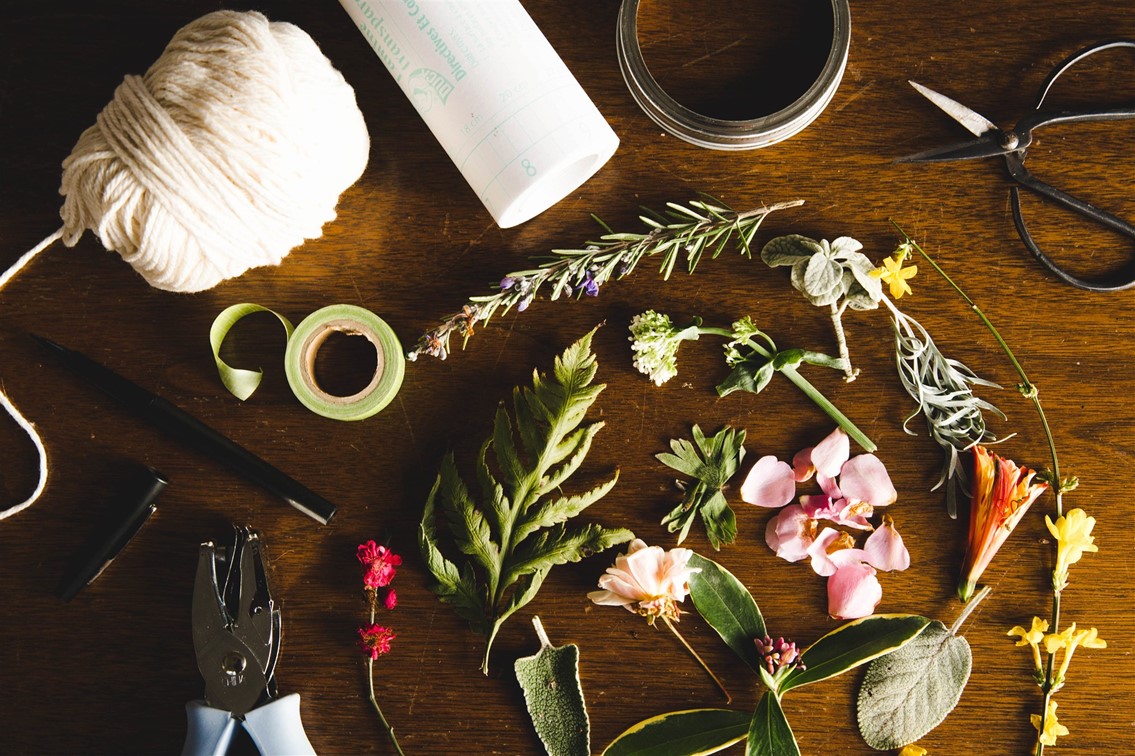
Materials
- Clear contact paper
- Scissors
- A pen or Sharpie
- Tape
- A large Mason jar lid (or something to trace circles with)
- A single hole-punch
- String or twine
Instructions
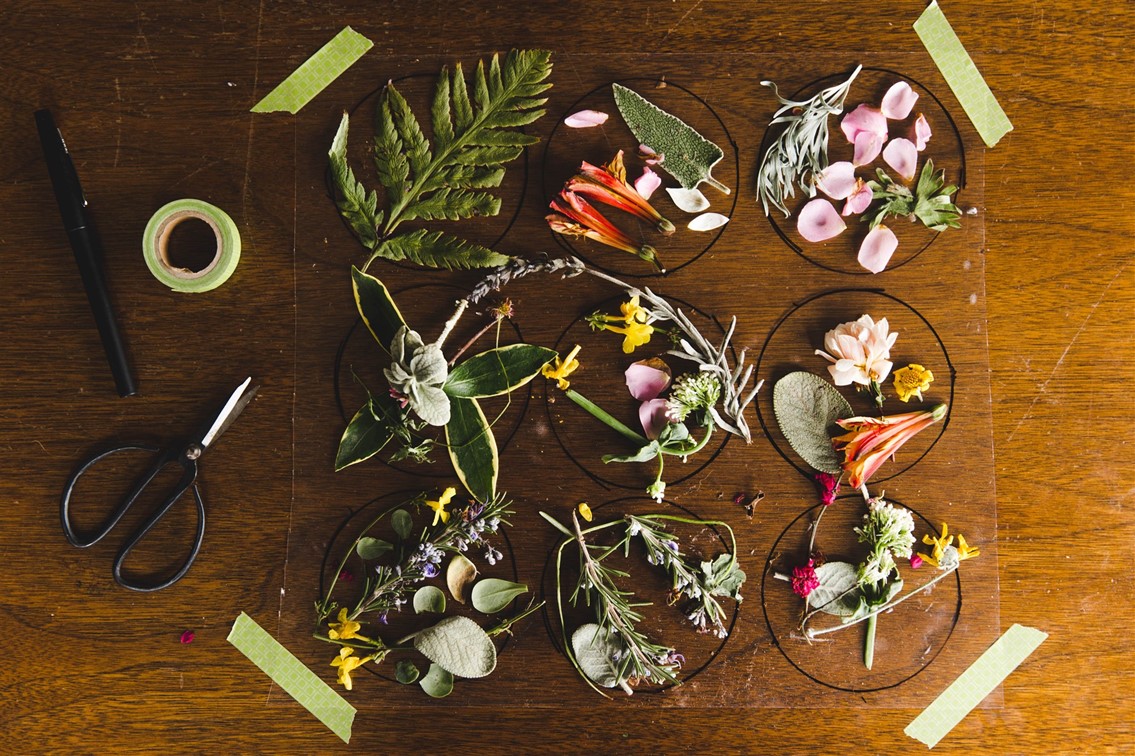
- Cut a sheet of contact paper. Tape the corners of the paper to your work surface to prevent the edges from rolling up. Using the Mason jar lid, trace circles onto the clear side of the contact paper.
- Remove the tape and peel the backing off. Flip the contact paper over so that the sticky side is now facing up (your traced circles will show through). Re-tape the corners of the paper to your work surface.
- Now you have a sticky surface perfect for placing flowers and leaves. Let your child fill the circles with treasures. We used twigs and lily blooms but found that flat, translucent objects looked best in the sun; particularly small leaves, petals, and compressed flowers.
- Cut a second piece of contact paper that is approximately the same size or larger. Peel off the backing and lay it sticky side down on top of your filled circles so the nature treasures are sandwiched between the two sheets. Have the child smooth the paper to adhere it securely.
- Cut out the circles and punch two holes in the top of each. You can place them in a book overnight to compress them further. String the circles together. Hang in a sunny window and enjoy!


For the Love of Handcrafts
Whether it’s making felted acorns, paper beads, or bug hotels, I hope this book inspires you to create beauty, as well as offers your children opportunities to work with their hands and discover a skillful craft they love to practice. Most of all, I hope these enriching activities spark delight as together you pursue the lost art of handcrafts.

Ainsley Arment
@ainsl3y
